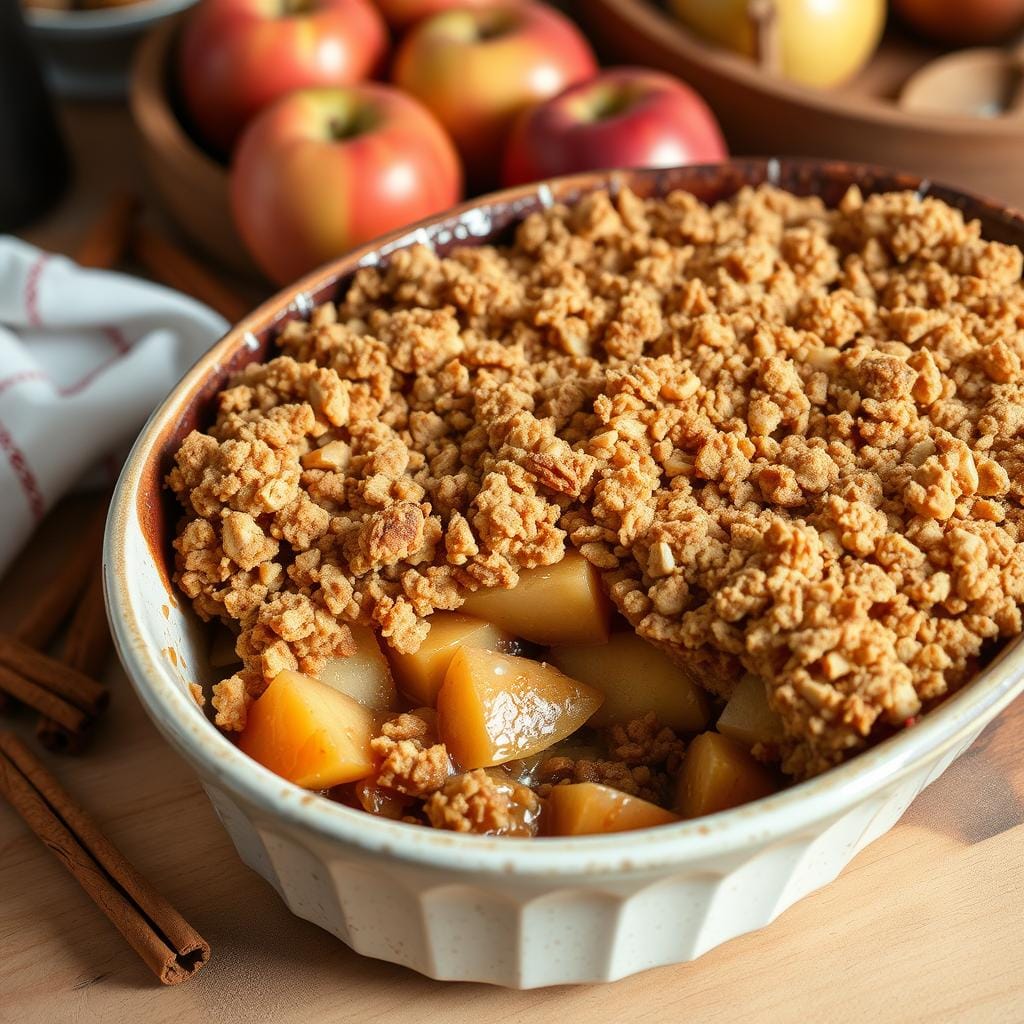
The smell of apple crisp baking was a cozy memory from my childhood. It reminded me of family times and autumn afternoons. The golden topping and soft apples brought back many happy moments.
I love baking apple crisp and always wonder about the details. Choosing the right apples and the right mix of ingredients is key. But, do we really need to refrigerate it before baking?
Key Takeaways
- Understand the role of refrigeration in apple crisp preparation
- Explore the science behind the perfect apple crisp texture
- Discover time-saving tips for assembling and baking apple crisp
- Avoid common mistakes that can compromise the final result
- Learn expert-approved techniques for achieving the ultimate apple crisp
We’ll look into how to make the perfect apple crisp. We’ll talk about texture, flavor, and success. By understanding the science, you can make amazing apple crisps in your kitchen.
Understanding the Basics of Apple Crisp Preparation
Making the perfect apple crisp begins with knowing the basics. It’s about the ingredients and how heat and moisture work together. Getting these right is key to a delicious dessert every time.
Essential Ingredients for Perfect Apple Crisp
A classic apple crisp needs just a few things. Juicy, tart apples are the main attraction. They’re topped with a crunchy, buttery layer. The mix of these elements, along with spices, makes all the difference.
Knowing how each ingredient works is crucial for apple crisp storage and making. From the apples to the butter’s temperature, every detail matters. It affects the texture, taste, and success of your apple crisp.
The Science Behind Apple Crisp Texture
The secret to a great apple crisp texture is the mix of apples, topping, and baking. As the apples cook, they release juices. The topping soaks up this moisture, creating a soft filling and a crunchy top.
The butter’s temperature is also important. Chilled butter makes the topping flaky and crumbly. Room temperature butter results in a softer, less crisp topping.
Knowing these science facts helps you make a better unbaked apple crisp. It ensures your homemade dessert turns out just right.

“The perfect apple crisp is a delicate balance of textures and flavors, where the juicy, tender apples mingle with the buttery, crunchy topping to create a heavenly dessert.”
Does Apple Crisp Need to Be Refrigerated Before Baking?
When making apple crisp, you might wonder if it needs to chill before baking. This choice can affect the dessert’s texture and taste. Let’s look at what to consider before deciding to chill your apple crisp.
Some recipes say to chill the apple crisp topping before baking. This helps the topping become crumbly and crunchy. The cold butter in the topping melts slower, making the topping separate better and giving it a streusel-like texture.
But, whether to chill the apple crisp depends on the recipe and your desired texture. Some recipes use room temperature ingredients. This can make the topping tender and blend well with the apples.
Whether to chill the apple crisp is up to you and the recipe you’re using. Always read the instructions and try different methods to see what works best for you.
“The key to a perfect apple crisp is finding the right balance between the tender, juicy apples and the crisp, golden-brown topping.”

Factors to Consider
- Texture preferences: Chilling can create a more crumbly, streusel-like topping, while room temperature ingredients may result in a more tender, homogeneous topping.
- Recipe instructions: Follow the specific directions in your chosen recipe, as some may call for chilling while others may not.
- Ingredient temperature: Pay attention to whether the recipe calls for room temperature or cold ingredients, as this can impact the final texture.
| Refrigeration Before Baking | Room Temperature Assembly |
|---|---|
| Firmer, more crumbly topping | Softer, more blended topping |
| Longer baking time may be required | Shorter baking time |
| Potential for a more defined, streusel-like texture | Potentially more homogeneous texture |
The Impact of Temperature on Apple Crisp Ingredients
Preparing the perfect refrigerating fruit desserts requires knowing about temperature. The temperature of your room temperature apple crisp ingredients affects the dish’s texture and taste.
Cold vs Room Temperature Butter Effects
The butter’s consistency in your apple crisp topping is key. Cold, firm butter makes the topping crumbly and biscuit-like. Room temperature butter, however, results in a smoother topping.
Apple Moisture Content Considerations
- Chilled apples have more moisture, making the filling juicy and soft.
- Apples at room temperature have less moisture, leading to a firmer filling.
Topping Texture Variables
The temperature of your crisp topping ingredients also matters. Warm or room temperature butter and oats make the topping softer. Cold ingredients, however, make it crunchier.
| Ingredient Temperature | Topping Texture |
|---|---|
| Cold | Crunchier, more granular |
| Room Temperature | Softer, more pliable |
Knowing how temperature affects your refrigerating fruit desserts helps you achieve the perfect room temperature apple crisp. This way, you can control the texture and flavor.
Best Practices for Apple Crisp Assembly
Making the perfect apple crisp is all about the assembly. Follow a few simple steps to make your unbaked apple crisp delicious every time.
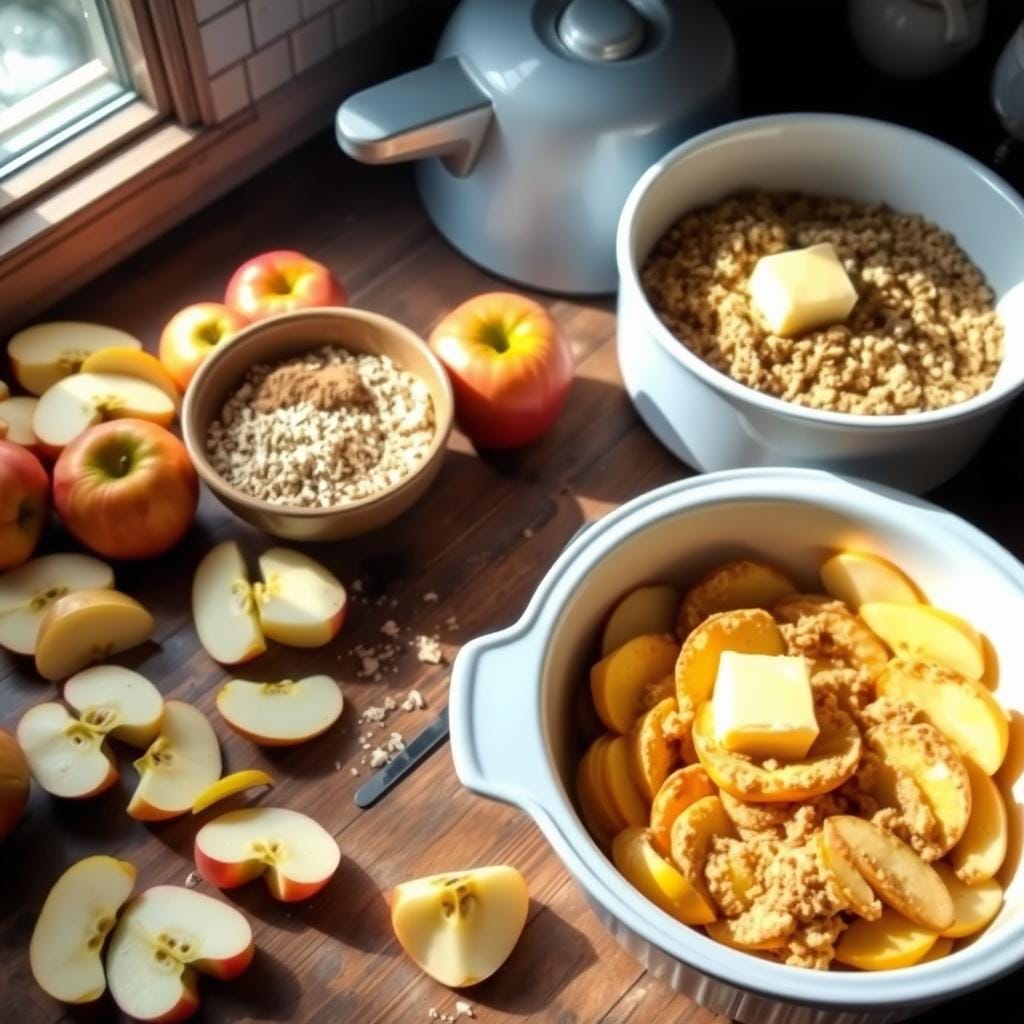
First, preheat your oven and get your baking dish ready. Grease it with butter or nonstick spray to prevent sticking. Then, layer the ingredients:
- Put sliced apples in an even layer at the bottom of the dish.
- In a bowl, mix dry streusel topping ingredients – flour, brown sugar, cinnamon, and a pinch of salt.
- Cut in cold butter until it looks like coarse crumbs.
- Spread the streusel topping evenly over the apples.
For the best apple crisp preparation, don’t press the topping down too hard. This helps the crisp get a light, airy texture as it bakes. Now, your unbaked apple crisp is ready for the oven!
| Ingredient | Quantity |
|---|---|
| Apples, peeled and sliced | 6-8 cups |
| All-purpose flour | 1 cup |
| Brown sugar | 1 cup |
| Unsalted butter, cold | 1/2 cup |
| Ground cinnamon | 1 teaspoon |
| Salt | 1/4 teaspoon |
By following these steps, you’ll have a perfectly assembled apple crisp ready to bake and enjoy. Remember, the key to success is in the preparation. So, take your time and enjoy the process.
“The secret to a great apple crisp is in the details – from the perfectly sliced apples to the light and airy streusel topping.”
Time-Saving Tips: Make-Ahead Apple Crisp Options
Making a delicious apple crisp doesn’t have to take a lot of time. With a few smart tips, you can save time and still enjoy a great dessert. Let’s look at some make-ahead options to make your apple crisp prep easier.
Preparing Components in Advance
One smart way to make apple crisp prep faster is to prepare parts ahead. You can pre-slice the apples and keep them in the fridge for up to 3 days. Also, mix the crisp topping ahead and keep it ready to use when you bake.
Storage Methods for Unbaked Crisp
For an even bigger time save, you can make the whole unbaked apple crisp ahead. Just make the filling, layer it in a dish, and add the crisp topping. Then, cover it tightly and refrigerate for up to 3 days. When you’re ready, just bake it straight from the fridge.
Timing Considerations
Remember, an unbaked apple crisp might need a bit more baking time. Adjust the time and watch it closely to get it just right.
“Preparation is the key to enjoying the delicious rewards of homemade apple crisp without the hassle.”
Using these make-ahead tips, you can have an unbaked apple crisp ready when you want it. Enjoy this comforting dessert without the rush.
Common Mistakes to Avoid When Preparing Apple Crisp
Making the perfect apple crisp needs careful attention. Stay away from these common mistakes to bake a success:
- Over-mixing the topping: Too much mixing can make the topping dense and tough. Mix the ingredients just until they come together.
- Incorrect apple-to-topping ratio: Too much topping can drown the apples, while too little leaves it feeling incomplete. Aim for an equal amount of apples and topping.
- Baking at the wrong temperature: High heat can burn the topping before the apples are soft. Use a moderate oven temperature of 350°F (175°C) for even baking.
Avoiding these proper apple crisp handling errors will help you achieve baking apple crisp perfection. With a bit of care and focus, your guests will love the tasty outcome.
| Common Mistake | Potential Outcome | Solution |
|---|---|---|
| Over-mixing the topping | Dense, tough texture | Gently combine ingredients until just combined |
| Incorrect apple-to-topping ratio | Topping overwhelms or underwhelms the fruit | Aim for a 1:1 ratio of apples to topping |
| Baking at the wrong temperature | Topping burns before apples are tender | Bake at a moderate 350°F (175°C) |
“The secret to a perfect apple crisp is all in the details. Pay attention to your ingredient ratios and baking temperatures, and you’ll be rewarded with a delightful dessert every time.”
Food Safety Guidelines for Fruit Desserts
Preparing and storing fruit desserts like apple crisp requires careful attention to food safety. Following the right temperature guidelines and storage times can stop harmful bacteria from growing. This ensures your dessert stays safe and delicious.
Temperature Danger Zones
The temperature danger zone is between 40°F and 140°F. Bacteria grow fast in this range, raising the risk of foodborne illnesses. To avoid this, keep your desserts either very cold or very hot during preparation and storage.
Safe Storage Duration
How long you store your fruit desserts is also crucial. Apple crisp can safely sit at room temperature for up to 2 hours. For longer storage, refrigerate it in a sealed container. This way, apple crisp can stay fresh and safe for 3 to 5 days.
By sticking to these dessert food safety rules and refrigerating fruit desserts correctly, you can enjoy your homemade apple crisp. It’s a way to share delicious flavors while keeping everyone’s health in mind.
Expert Tips for the Perfect Apple Crisp Texture
Making the perfect apple crisp is an art that needs attention to detail. We’ve gathered tips from experts to help you master apple crisp preparation and baking apple crisp to perfection.
Experts say to mix tart and sweet apples. Granny Smith and Honeycrisp apples are great together. The tart Granny Smiths add structure, while the sweet Honeycrisps add flavor contrast. Slice the apples about 1/4 inch thick for even cooking.
Chill the topping mixture before baking, experts advise. Mix the oat, flour, sugar, and butter, then chill it in the fridge for at least 30 minutes. This makes the topping crisp and crumbly when baked.
| Ingredient | Chilled vs. Room Temperature | Impact on Texture |
|---|---|---|
| Butter | Chilled | Creates a flakier, more crumbly topping |
| Apples | Room Temperature | Retains more moisture and juiciness |
| Topping Mixture | Chilled | Leads to a crisper, less soggy texture |
Watch the baking time closely. Overbaking can make the topping dry and the apples mushy. Remove the crisp when the topping is golden and the apples are tender but still firm.
“The secret to a perfect apple crisp lies in the balance of textures – a crisp, buttery topping complementing the soft, juicy apples underneath.”
Follow these expert tips to make the ultimate apple crisp. It will impress your taste buds and guests alike.
Conclusion
Whether to refrigerate apple crisp before baking is up to you. It depends on what you like and the recipe you’re using. Knowing how temperature affects ingredients helps you choose the best option for your apple crisp.
The secret to a great apple crisp is in the details. Choosing the right apples and assembling the dish correctly are key. By following the best practices and avoiding mistakes, you’ll make apple crisps everyone will love.
Baking is all about trying new things and enjoying the process. Don’t be afraid to try different recipes and techniques. With practice and the tips from this article, you’ll soon be an apple crisp expert.

