
As autumn arrives and the air turns crisp, there’s nothing quite like the comforting aroma of baking an easy homemade apple crisp recipe with oats. This classic dessert fills the kitchen with warmth and brings back cherished memories of family gatherings and homemade treats.
Today, I’m thrilled to share a simple recipe that’s perfect for both seasoned bakers and beginners. With tender cinnamon apples and a golden oat topping, this apple crisp will quickly become a family favorite. Let’s get started!
Key Takeaways
- Discover a simple and delicious apple crisp recipe with a buttery oat topping
- Learn how to prepare tender, flavorful apples for the perfect crisp
- Understand the benefits of making apple crisp at home
- Explore customization options to make the recipe your own
- Get tips on storing and reheating your homemade apple crisp
Why This Classic Apple Crisp Deserves a Spot in Your Recipe Collection
As autumn arrives, nothing beats the smell of a classic apple crisp baking in your kitchen. It’s a dessert that truly captures the spirit of fall. It’s also a must-have in your collection of recipes.
Benefits of Making Apple Crisp at Home
Making your own homemade apple crisp has many advantages. It’s cheaper than buying one and lets you tailor it to your liking. You can tweak the sweetness and try different apples, making it your own.
What Makes This Recipe Special
This classic apple crisp recipe stands out for its perfect mix of flavors and textures. The apples are juicy and slightly tart, paired with a crunchy oat topping. It’s a dessert that combines the cozy feel of fall recipes with a homemade charm.
“The aroma of this homemade apple crisp is enough to transport you to a cozy autumn day, surrounded by the vibrant colors of the season.”
This classic apple crisp recipe is perfect for any occasion. It’s sure to become a favorite in your kitchen, pleasing both your senses and taste buds.

Essential Ingredients for the Perfect Apple Crisp Recipe
Making the ultimate apple crisp needs the right ingredients. You need juicy, flavorful apples and a crunchy, buttery oat topping. Each part is key to a classic fall dessert. Let’s look at what makes this baked apple crisp special.
Fresh, Seasonal Apples
Choosing the right apples is crucial. Mix tart and sweet apples like Granny Smith, Honeycrisp, or Gala. This mix gives the perfect flavor balance.
Oats for the Crumble Topping
The oat topping makes an apple crisp stand out. It contrasts with the soft apples. Use both old-fashioned and quick-cooking oats for a crunchy topping.
Butter and Brown Sugar
Butter and brown sugar combine to create a rich, caramelized oat topping. The butter helps bind the ingredients, while the brown sugar adds both sweetness and a subtle molasses flavor. Together, they form a perfect base for the topping.
Flour and Spices
All-purpose flour makes the topping crumbly. Warm spices like cinnamon and nutmeg boost the flavor. They make the apple crisp ingredients even better.
| Ingredient | Purpose |
|---|---|
| Apples | Provide the main fruit filling |
| Oats | Create the crunchy topping |
| Butter | Bind the topping ingredients and add richness |
| Brown Sugar | Sweeten the topping and create a caramelized texture |
| Flour | Help the topping achieve the desired crumbly consistency |
| Cinnamon and Nutmeg | Enhance the warm, autumnal flavors |
Choosing and mixing these ingredients well makes a homemade apple crisp that everyone will love. It’s a mix of sweet, tart, and spiced flavors with a crispy topping. It’s sure to become a favorite in your home.

“The aroma of a freshly baked apple crisp is a surefire way to bring people together and create lasting memories.”
Choosing the Best Apples for Your Crisp
Choosing the right apples is crucial for a perfect apple crisp. The right baking apples balance sweetness, texture, and flavor. This makes your homemade dessert a hit.
Best Apple Varieties for Baking
Here are some top apple varieties for baking:
- Granny Smith: Tart and crisp, these green apples hold their shape well during baking.
- Honeycrisp: A sweet-tart variety with a firm, juicy texture that’s perfect for crisps and cobblers.
- Braeburn: Offering a nice balance of sweetness and acidity, Braeburn apples maintain their structure when baked.
How to Prepare Your Apples
Before baking, prepare your apple preparation this way:
- Peel the apples, if desired. Leaving the skins on can add extra texture and flavor.
- Core and slice the apples into thin, even pieces for consistent baking.
- Toss the sliced apples with a bit of lemon juice to prevent browning.
Storage Tips for Baking Apples
To keep your baking apples fresh, store them in the fridge. Use a perforated plastic bag. This keeps them crisp and flavorful until baking time. Stored properly, apples can last up to 4 weeks.
“The secret to a great apple crisp lies in the apples themselves. Choose the right variety, and your dessert will be a true delight.”
Creating the Perfect Oat Topping Mixture
The oat topping is the star of any apple crisp recipe. It contrasts beautifully with the soft, sweet apples, adding a delightful crunch. To get it just right, you need to balance the oat topping with other ingredients.
Start by mixing rolled oats, all-purpose flour, brown sugar, and a pinch of salt in a big bowl. Then, rub in cold cubed butter until it looks like coarse crumble topping. It’s important not to overwork the dough. This keeps the butter pockets intact, which will melt and give the right texture.
When your oat topping is just right, it’s time to layer it over your apple crisp recipe. Spread it evenly over the apples. This makes your dish look great and adds a nice texture contrast when it’s baked.
For a truly amazing apple crisp, balance is key. You want juicy, tender apples and a crisp, golden topping. With a bit of care, you’ll make a dessert that everyone will love.
Step-by-Step Baking Instructions
Baking the perfect apple crisp is easier than you might think. Just follow these simple steps to make a delicious easy apple crisp in your kitchen.
Preparing Your Baking Dish
First, preheat your oven to 375°F (190°C). Grease a 9×13 inch baking dish with butter or non-stick spray. This prevents the baking apple crisp from sticking.
Mixing and Layering Techniques
- In the prepared baking dish, arrange the sliced apples in an even layer.
- In a separate bowl, mix together the oat topping ingredients until well combined.
- Sprinkle the oat topping evenly over the apple crisp filling.
Baking Time and Temperature Guidelines
Bake the apple crisp recipe for 30-35 minutes. Wait until the topping is golden brown and the apples are tender. Let it cool for 10-15 minutes before serving.
By following these simple steps, you’ll have a delicious and easy apple crisp ready for any occasion. Enjoy!
Serving Suggestions and Toppings
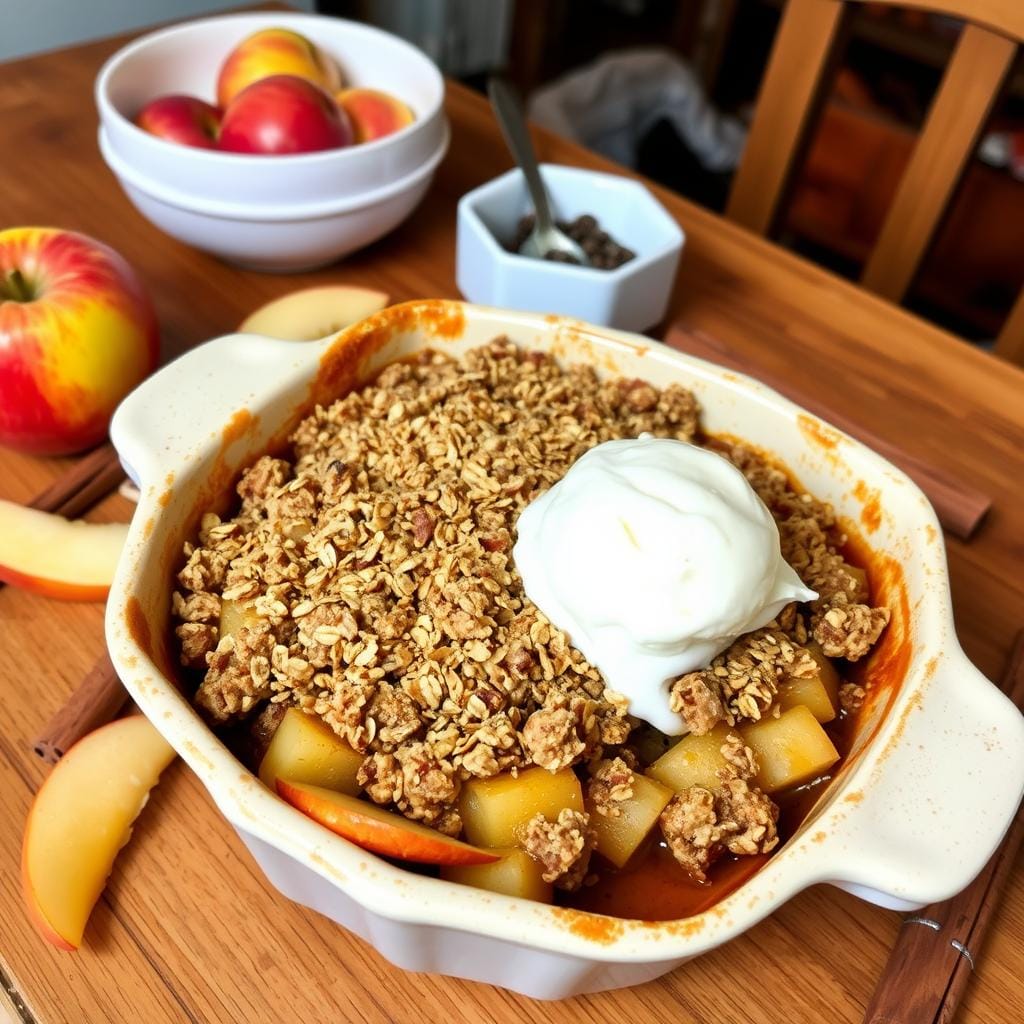
There are many ways to serve your homemade apple dessert. A classic choice is a warm apple crisp with vanilla ice cream. The hot crisp and cool ice cream together are amazing.
For something extra special, try caramel sauce or fresh whipped cream on your warm apple dessert. These toppings make the crisp even better and add a bit of luxury.
- Vanilla ice cream
- Whipped cream
- Caramel sauce
- Cinnamon-sugar mixture
- Chopped toasted nuts (such as pecans or walnuts)
It’s best to serve your apple crisp toppings warm. The heat brings out the flavors and makes it cozy. But, if you like it cooler, let it sit for 10-15 minutes.
For a nice look, serve your apple dessert in ramekins or small dishes. It looks fancy and lets everyone have their own portion. Add a sprig of thyme or powdered sugar for a special touch.
This apple crisp is perfect for any gathering. Its delicious taste and many ways to serve it make it a favorite. It’s a must-have in your dessert collection.
Storage Tips and Reheating Methods
Homemade apple crisp doesn’t have to end with the last bite. With the right storage and reheating, you can keep it fresh. This way, every spoonful will be as tasty as the first.
Keeping Your Crisp Fresh
To keep your apple crisp perfect, follow these easy tips:
- Let the crisp cool down completely before storing.
- Cover it tightly with foil or put it in an airtight container.
- Keep it in the fridge for up to 4 days. This keeps the topping crisp and the apples tender.
- For longer storage, freeze it for up to 3 months. Wrap it in plastic wrap and then in a freezer-safe bag or container.
Best Reheating Practices
Ready to enjoy your apple crisp again? These reheating methods will make it just as good as new:
- Oven Reheat: Heat your oven to 350°F (175°C). Put the apple crisp in a dish and cover it with foil. Heat for 10-15 minutes until it’s warm and the topping is crisp.
- Microwave Reheat: Put some apple crisp in a microwave-safe dish. Heat in 30-second bursts, stirring between each interval, until it’s hot. This method might make the topping a bit softer, but it’s quick.
By using these apple crisp storage and reheating tips, you can enjoy this classic dessert for longer.
Variations and Customization Options
The classic apple crisp recipe is a timeless delight. But, there’s no need to stick to just one version. Explore the world of apple crisp variations and discover how you can put your own spin on this beloved dessert.
One popular twist on the traditional apple crisp is adding nuts. Whether you prefer the crunch of walnuts, the richness of pecans, or the buttery goodness of almonds, adding a handful of chopped nuts to the topping can elevate your apple crisp to new heights.
If you’re feeling adventurous, consider experimenting with different fruit combinations. While apples are the classic choice, you can also try mixing in pears, plums, or even berries for a delightful twist on the old-fashioned apple crisp.
For those with dietary restrictions or preferences, the apple crisp recipe can be easily adapted. Swap out the butter for coconut oil or vegan butter to make it dairy-free, or use gluten-free flour and oats to accommodate gluten-free diners.
Spice things up by incorporating unique flavors like cinnamon, nutmeg, or even a touch of cardamom. These subtle additions can elevate your grandma’s apple crisp to a whole new level of deliciousness.
The possibilities are endless when it comes to customizing your apple crisp. So why not experiment and find the perfect combination that suits your taste buds?
Conclusion
This homemade apple crisp recipe is perfect for any season, but it’s especially great in the fall. It’s simple and has a nostalgic taste that everyone will love. You’ll learn how to pick the best apples and make the perfect oat topping.
Whether you’re an experienced baker or just starting out, this recipe is a must-try. The mix of soft apples and crunchy topping is a true autumn treat. Serve it warm with vanilla ice cream for a special treat that everyone will want more of.
Why not try this delicious homemade apple crisp this fall? Get your ingredients ready, preheat your oven, and start baking. This classic dessert will fill your home with the amazing smells of cinnamon and apples. Enjoy it with your loved ones and make memories that will last forever.