I love desserts, and cheesecake is my favorite recipe to make. The creamy texture and perfect flavors make it irresistible. For a long time, I thought making a great cheesecake at home was too hard. But then, I found the secrets to making it easy.
In this guide, I’ll share a simple recipe and techniques. They will help even beginners make a cheesecake as good as those in fancy shops. Get ready to enjoy homemade dessert happiness, one slice at a time.
Key Takeaways
- Discover the simplicity of baking a restaurant-quality cream cheese dessert recipe at home.
- Learn the essential tools and techniques to ensure a perfect easy cheesecake recipe every time.
- Understand the role of each ingredient and how to achieve the ideal texture and flavor.
- Master the art of the graham cracker crust, the foundation for a truly exceptional cheesecake.
- Explore creative topping ideas and seasonal variations to make your easy cheesecake recipe truly unique.
Why Making Cheesecake at Home is Easier Than You Think
Baking a homemade cheesecake might seem hard, but it’s really simple. Don’t believe the myths. Learn how easy it is to make this delicious dessert at home.
Common Misconceptions About Cheesecake Baking
Many people think making cheesecake is hard. But, it’s not. With some cheesecake baking tips and practice, you can make a great homemade cheesecake.
Benefits of Homemade vs. Store-Bought
Store-bought cheesecakes are easy to find, but homemade ones taste better. Making your own cheesecake lets you choose the ingredients and flavors. You’ll also feel proud of making a delicious dessert from scratch.
| Homemade Cheesecake | Store-Bought Cheesecake |
|---|---|
| Fresh, high-quality ingredients | Possible preservatives and additives |
| Ability to personalize flavors | Limited flavor options |
| Satisfaction of baking from scratch | Convenience, but less personal touch |
Don’t be scared to try making a homemade cheesecake. With the right help and effort, you can make a dessert that will wow everyone.

Essential Kitchen Tools and Equipment for Perfect Cheesecake
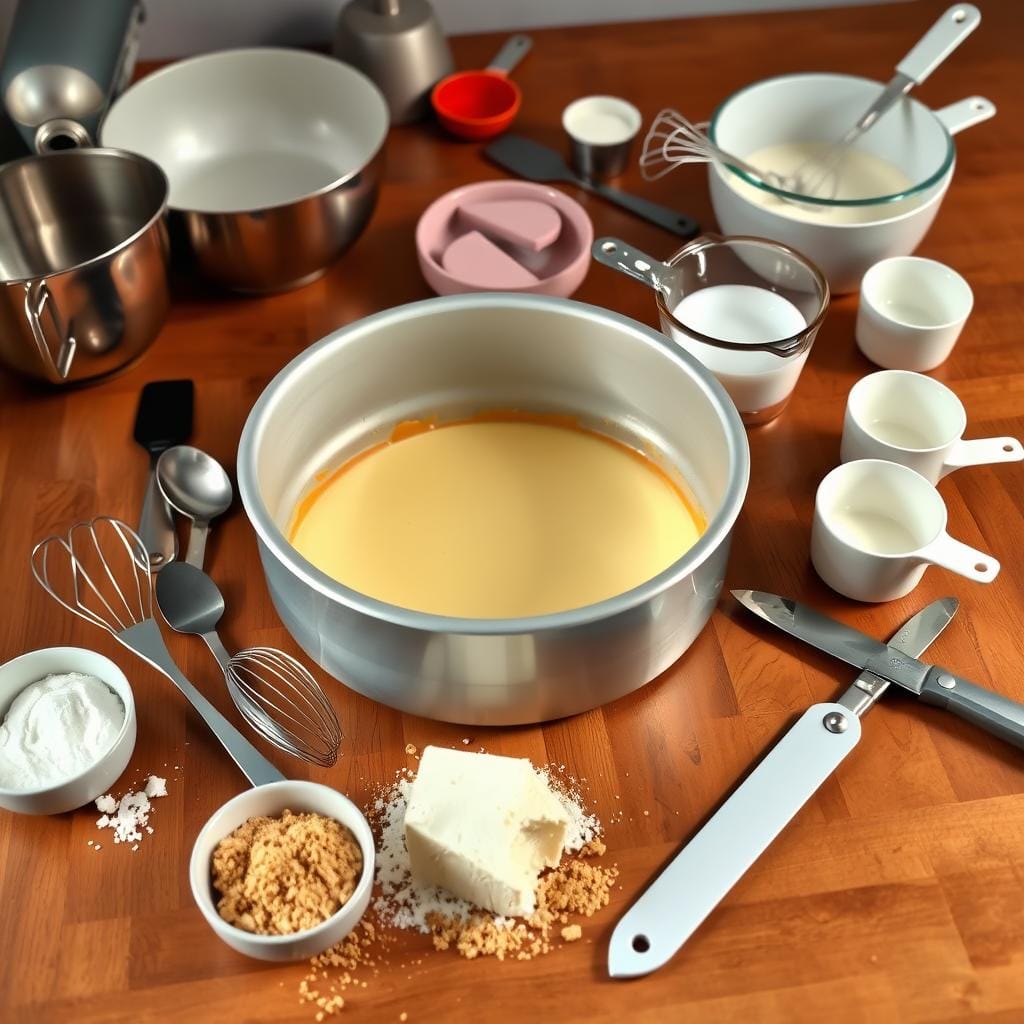
Making a delicious homemade cheesecake needs more than just ingredients. You’ll need the right kitchen tools and equipment for the perfect texture and look. From the iconic springform pan to powerful electric mixers, these tools are key to mastering cheesecake making.
The springform pan is essential for serious cheesecake bakers. It has removable sides, making it easy to take out the cheesecake without messing up its texture. Choose a heavy-duty, high-quality pan to handle your cheesecake batter.
A sturdy electric mixer is also crucial for a smooth cheesecake filling. Whether you use a stand mixer or a handheld one, it blends ingredients well. This ensures your cream cheese, eggs, and other ingredients mix perfectly, making a batter without lumps.
Finally, flexible silicone or metal spatulas are your go-to for mixing and smoothing the cheesecake. They help scrape down the mixing bowl and smooth the top before baking.
| Essential Cheesecake Baking Tools | Why They’re Important |
|---|---|
| Springform pan | Allows for easy removal of the cheesecake without disrupting the delicate texture. |
| Electric mixer (stand or handheld) | Ensures a smooth, lump-free batter by thoroughly combining the ingredients. |
| Flexible silicone or metal spatulas | Helps scrape down the sides of the mixing bowl and smooths the top of the cheesecake before baking. |
Getting these cheesecake baking tools will make you a pro in the kitchen. They’ll help you make the perfect homemade cheesecake every time.

Understanding Basic Cheesecake Ingredients
Making a delicious homemade cheesecake starts with knowing the key ingredients. At its core, the cream cheese is essential for the cheesecake’s creamy and rich texture. Choose full-fat cream cheese for the best taste and texture.
Choosing the Right Cream Cheese
The cream cheese you pick is very important. Go for a well-known brand that offers high-quality cream cheese. Don’t use low-fat or reduced-fat cream cheese, as they can’t match the full-fat version’s creaminess and taste.
The Role of Each Ingredient
- Cream Cheese: Provides the foundation for the cheesecake’s signature creamy texture and rich flavor.
- Eggs: Help bind the ingredients together, contributing to the dense and smooth texture.
- Sugar: Sweetens the cheesecake and balances the tanginess of the cream cheese.
- Heavy Cream or Sour Cream: Adds creaminess and a touch of richness to the filling.
- Vanilla Extract: Enhances the overall flavor profile of the cheesecake.
Ingredient Temperature Guidelines
It’s important to have all ingredients at the right temperature for a perfect cheesecake. Make sure the cream cheese, eggs, and other dairy are at room temperature before mixing. This ensures a smooth batter without lumps.
Graham Cracker Crust: The Foundation of Success
The graham cracker crust is a key part of a great cheesecake. It gives a solid base for the creamy cheesecake base. It also adds a tasty texture and flavor that goes well with the filling.
Making a perfect graham cracker crust is simpler than you think. The secret is getting the right mix of graham cracker crumbs, butter, and sugar. With a few easy steps, you can make a crust that’s both crunchy and richly buttery.
- Begin with high-quality graham cracker crumbs that are finely ground for a smooth texture.
- Combine the crumbs with melted butter and a bit of sugar. This helps the ingredients stick together without making the crust too thick.
- Press the mix firmly into your springform pan. Make sure it covers the bottom and goes up the sides a bit.
- Bake the crust at a moderate heat until it’s lightly golden and smells great. This makes a strong base for your cheesecake base.
The graham cracker crust is the secret to your cheesecake’s success. So, give it the care and attention it needs. With a bit of practice, you’ll make crusts that make your cheesecakes even more delicious.
| Ingredient | Quantity |
|---|---|
| Graham Cracker Crumbs | 1 1/2 cups |
| Unsalted Butter, Melted | 5 tablespoons |
| Granulated Sugar | 2 tablespoons |
How to Make Cheesecake : A step-by-step Guide
Making the perfect cheesecake at home might seem hard, but it’s doable. With the right steps, you can make a dessert as good as any bakery’s. We’ll show you how to make the crust, mix the filling, and bake it just right.
Preparing the Crust
A great cheesecake starts with a good crust. First, crush the graham crackers into fine crumbs. You can use a food processor or a rolling pin in a bag. Mix the crumbs with melted butter and a bit of sugar, then press it into a springform pan.
Chill the crust in the fridge for at least 30 minutes. This step is crucial before adding the filling.
Mixing the Filling
For a creamy filling, make sure all ingredients are room temperature. This makes them blend well. Beat the cream cheese until it’s fluffy, then add sugar, eggs, and flavorings like vanilla or lemon zest.
Keep mixing until the batter is smooth and lump-free.
Proper Baking Technique
Pour the filling into the crust and smooth the top. Bake in a preheated oven with a water bath for even cooking. When the center is almost set, turn off the oven.
Let it cool slowly for about an hour before taking it out of the oven.
Water Bath Methods and Tips
Baking a delicious cheesecake requires a water bath, also known as a bain-marie. This method is key for a smooth and creamy texture. It also prevents cracks on the cheesecake surface.
The water bath surrounds the cheesecake pan with hot water while baking. This moist heat ensures even baking. It makes the cheesecake dense and silky. The water bath also keeps the temperature steady, avoiding sudden temperature changes that can cause cracks.
- Prepare the water bath by placing the cheesecake pan in a larger baking dish or roasting pan.
- Carefully pour hot water into the larger pan, making sure the water reaches about halfway up the sides of the cheesecake pan.
- Be cautious when removing the cheesecake from the oven, as the water bath can be hot. Use oven mitts to lift the entire setup out of the oven.
- Allow the cheesecake to cool completely in the water bath, as this gradual cooling process helps prevent cracking.
Mastering the baking techniques of the water bath method can take your homemade cheesecake to new heights. Discover the secrets of this essential technique and enjoy the rich, velvety results in your own kitchen.
| Baking Technique | Benefits |
|---|---|
| Water Bath |
|
How to Prevent Common Cheesecake Cracks and Issues
Making a perfect cheesecake can be tricky. But, with the right methods, you can avoid cracks and uneven texture. We’ll show you how to bake a flawless cheesecake every time.
Troubleshooting Guide
If your cheesecake has cracks or an uneven surface, don’t worry. There are fixes for these common problems. Here’s a quick guide:
- Cracks: Cracks often come from over-mixing, sudden temperature changes, or baking too long. To avoid them, mix the batter gently and don’t open the oven door too much.
- Uneven Texture: An uneven texture might be from not mixing ingredients well or using cold cream cheese. Make sure all ingredients are at room temperature and mix gently and well.
- Sunken Center: A sunken center can be from baking too short or taking the cheesecake out too soon. Let it cool completely in the oven with the door ajar before removing it.
Prevention Techniques
To prevent cheesecake cracks and other issues, try these methods:
- Use a water bath to bake the cheesecake. This method provides even heat, preventing cracks and ensuring a smooth texture.
- Check the cheesecake for doneness a few minutes before the recommended time. It should still jiggle slightly in the center.
- Let the cheesecake cool slowly in the oven, then at room temperature, and finally in the fridge. Avoid sudden temperature changes to prevent cracking.
- Use room temperature ingredients, especially the cream cheese, for a smooth batter.
- Don’t over-mix the batter. This can introduce too much air, causing cracks.
By using these baking tips, you can avoid common cheesecake problems. Enjoy a smooth, creamy, and crack-free dessert every time.
Cooling and Setting Time Guidelines
Baking the perfect cheesecake is just the first step. Proper cooling and setting time are key for a smooth, creamy texture. After baking, let the cheesecake cool slowly to prevent cracks and ensure it sets right.
Start by cooling it on the counter for about 1 hour. This helps the center firm up and the edges pull away from the pan. Then, move it to the fridge for at least 4 hours, or better yet, overnight. The longer it cools and sets, the creamier it gets.
- Avoid cutting into the cheesecake until it has cooled and set well, usually 6-8 hours or overnight.
- Rushing the cooling can cause cracks, so be patient and cool it slowly.
- For the best results, chill the cheesecake for 24 hours before serving.
After following these cheesecake cooling and setting time guidelines, you can slice and serve your homemade cheesecake. It will show off its perfect texture and flavor.
“Patience is key when it comes to baking the perfect cheesecake. Rushing the process can lead to cracks and a less than ideal texture.”
| Cooling Stage | Duration |
|---|---|
| Counter Cooling | 1 hour |
| Refrigerator Chilling | 4 hours – Overnight |
| Total Cooling and Setting Time | 6-8 hours – 24 hours |
Creative Cheesecake Toppings and Variations
Make your homemade cheesecake even better with fun toppings and flavors. You can choose from classic favorites or try new seasonal ideas. There’s no limit to how you can make your cheesecake special.
Classic Topping Ideas
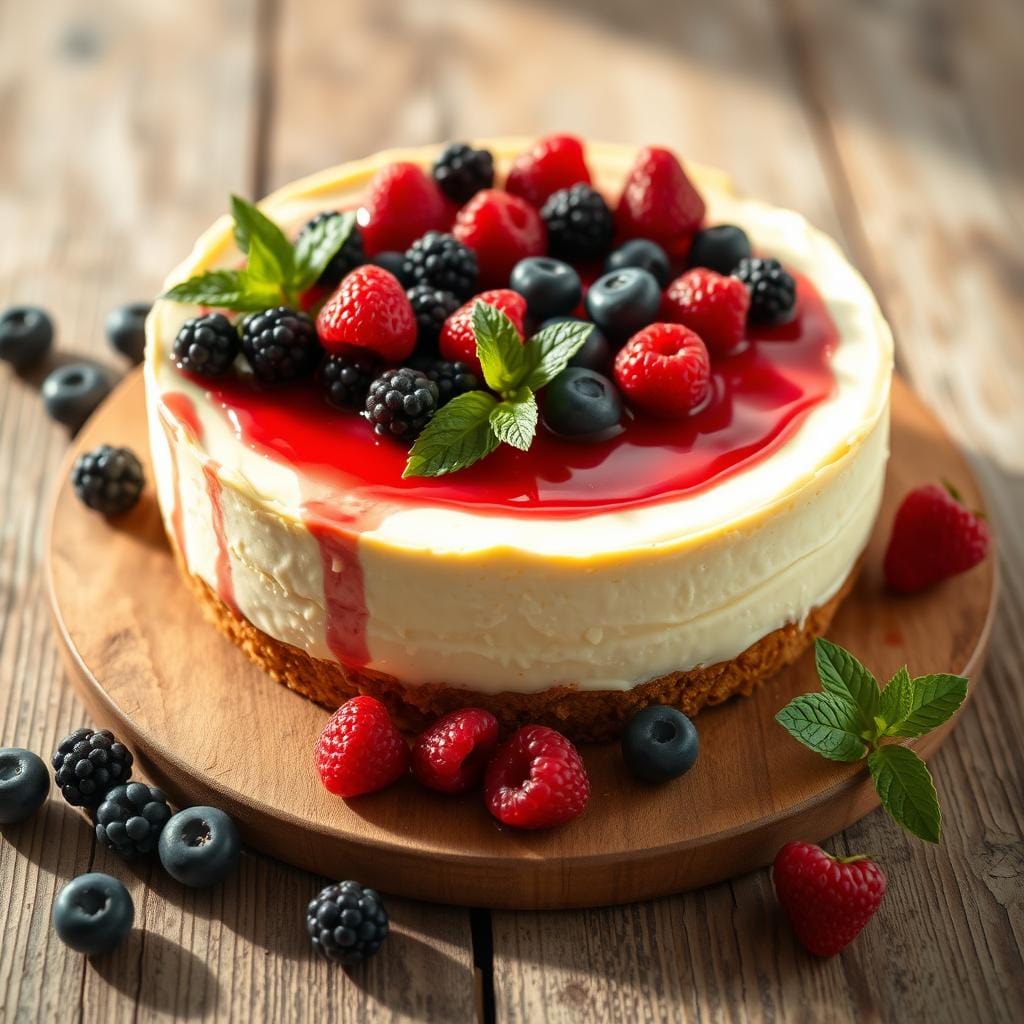
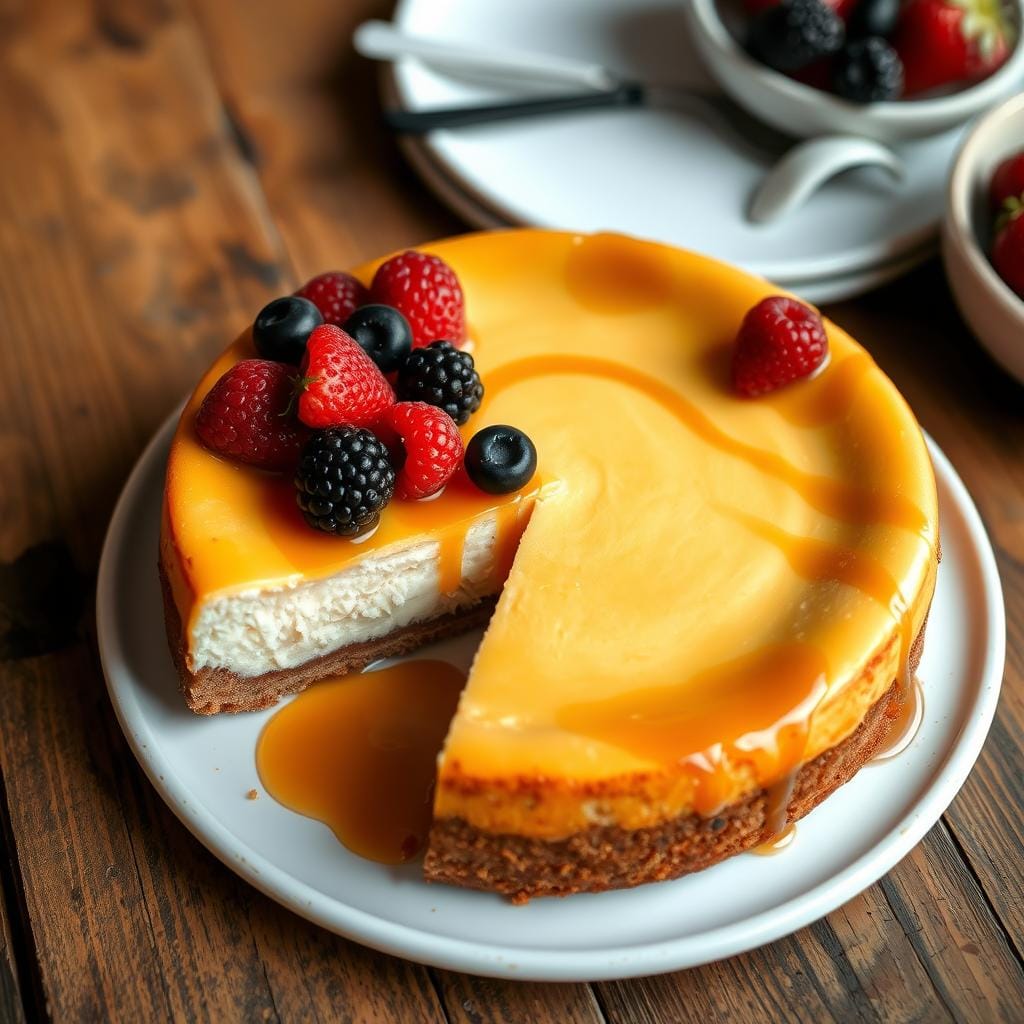
Top your cheesecake with timeless favorites. Try fresh fruit like strawberries, blueberries, or kiwi for a sweet burst. For a rich treat, drizzle chocolate or caramel sauce over it. Add toasted nuts like almonds or pecans for a nice crunch.
Seasonal Variations
Use seasonal flavors to make your cheesecake even more special. In fall, add crushed gingersnap cookies and pumpkin puree. For winter, try crushed candy canes and powdered sugar. Spring and summer are perfect for fresh berries, citrus zest, and whipped cream.
| Topping Idea | Flavor Profile | Ideal for Season |
|---|---|---|
| Strawberries | Sweet, juicy | Spring, Summer |
| Caramel Sauce | Rich, decadent | Year-round |
| Crushed Gingersnaps | Warm, spicy | Fall |
| Lemon Zest | Bright, citrusy | Spring, Summer |
Get creative and try out different cheesecake toppings and cheesecake variations. Find the perfect mix that you love and will wow your friends.
Storage Tips and Shelf Life
Storing your homemade cheesecake right is crucial for keeping it fresh and tasty. A few easy tips can help a lot with cheesecake storage and shelf life.
First, chill your cheesecake in the fridge once it’s cooled down completely. Cover it well with plastic wrap or foil to stop it from drying out. A plain cheesecake can stay good for 5-7 days in the fridge.
If you want to keep it longer, freezing is a great option. Just wrap it in layers of plastic or foil, and freeze it. Frozen cheesecake can last 2-3 months. Let it thaw in the fridge overnight before you eat it.
| Storage Method | Shelf Life |
|---|---|
| Refrigerated | 5-7 days |
| Frozen | 2-3 months |
To keep your cheesecake fresh, always store it in the fridge or freezer. Don’t let it sit at room temperature for too long. This can ruin its texture and taste. With the right storage, you can enjoy your cheesecake for days or even weeks.
“The secret to a long-lasting cheesecake is proper refrigeration and freezing. Follow these simple tips, and your homemade creation will stay fresh and delicious.”
Conclusion
Making a homemade cheesecake is fun and easy, even for beginners. You can make a creamy, decadent cheesecake in your kitchen. Just know the key ingredients, tools, and techniques.
We’ve covered common myths about cheesecake baking and why homemade is better. We also showed you how to make a perfect cheesecake. From the crust to cooling, you’re ready to make a great dessert.
Homemade cheesecakes are special because you can make them your own. Try different toppings and flavors. Enjoy the process and the yummy results of your hard work.

